
Oily T-zone, dry cheeks: how to apply face masks by area
Monday 16th November 2026
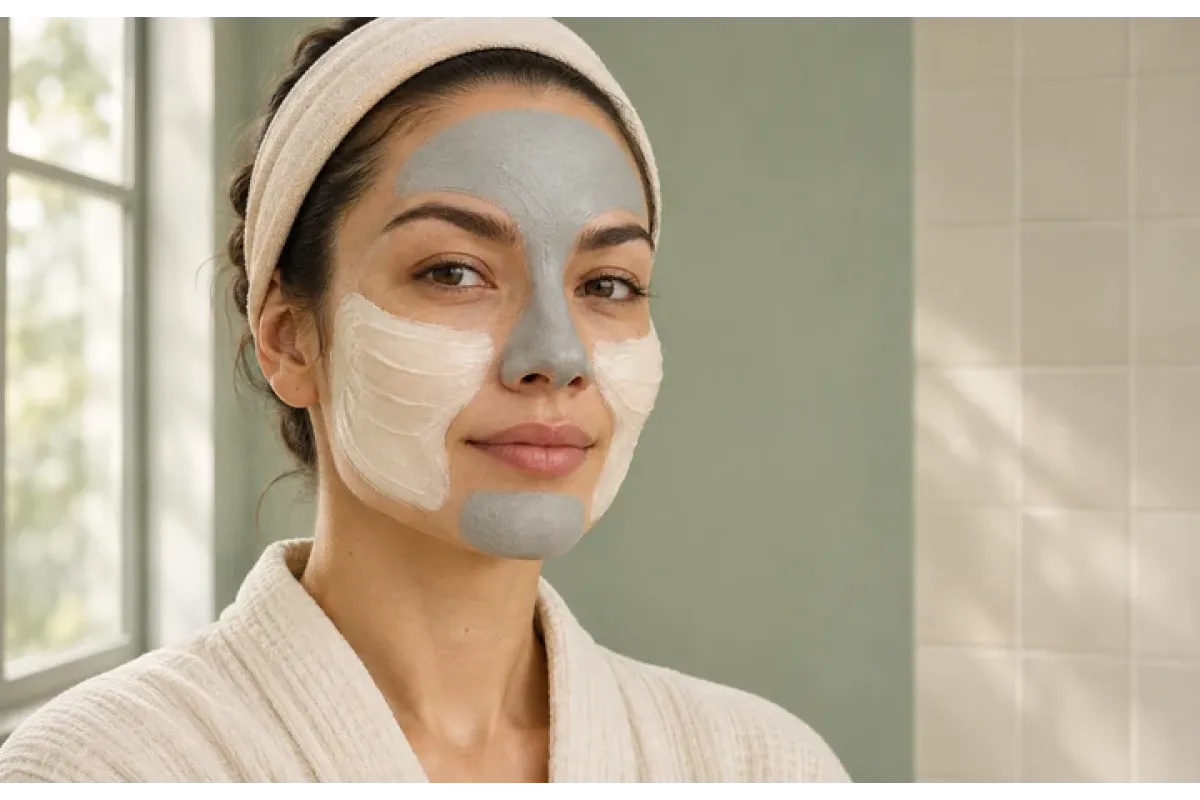
When your nose and forehead look shiny but your cheeks feel dry, choose a mask for each area. A mattifying clay mask can go on the shiny parts of the T-zone, while a hydrating mask can go on the cheeks. This approach is called multi-masking. Each product keeps its own application time and removal instructions, even when you use both in one session.
Begin by observing your skin during an ordinary day. Where does shine appear? Which area feels tight after cleansing? The T-zone includes the forehead, nose and chin, but those areas can have different needs too. If only the nose looks shiny, you can treat a small area. Let the current appearance and feel of your skin guide the size of each patch.
Deciding where each mask goes
Gently cleanse with your usual product and look at your face in good light. Identify two or three areas you would actually like to treat. Sometimes one mask on one area is enough, with your usual finishing skincare for the rest of the face.
| What you notice | The aim | Where to start |
|---|---|---|
| Visible shine on the nose or forehead | A more matte appearance | The shiny areas of the T-zone |
| Cheeks feel tight | Extra hydration | The cheeks that need more comfort |
| An area looks and feels comfortable | Maintain your usual care | Your regular moisturiser after the session, as needed |
Your pattern can change from one application to another. Today the hydrating mask might belong only on the cheeks, while another day you may want to cover a larger area. Check your skin before each session. Try new products on different days first so you can assess how each one feels.
Two examples from Wellness Expert
For a shiny T-zone
Collistar Attivi Puri Salicylic Acid + Zinc PCA Clay Mask, 75 ml is a creamy clay mask for purifying and mattifying. Its formula includes salicylic acid and zinc PCA. It is an option for an area where you want to reduce the appearance of shine. For a first trial, choose a small patch, such as the nose or centre of the forehead, and assess it after rinsing. The manufacturer specifies a 10-minute application and use twice a week. Collistar description and directions
For cheeks that need hydration
Skeyndor Power Hyaluronic Intense Hydrating Mask, 50 ml is an option for a hydrating step on the cheeks. The manufacturer describes a sorbet texture with hyaluronic acid and betaine. Consider this format when comfort on a dry-feeling area is your main aim. Skeyndor recommends use once or twice a week. Its brand blog specifies five minutes followed by rinsing with water. Check those details against your own product's packaging before use. Skeyndor mask description · Application instructions on the Skeyndor blog
Planning for different application times
Using the two masks on different evenings is a straightforward option. You might set aside one session for the T-zone and another for the cheeks. If you already know both products feel comfortable individually, you can plan a session with each on a separate area. Write down when you apply each one before you start.
| Example mask | Time given by the brand source | Removal |
|---|---|---|
| Collistar Clay Mask | 10 minutes | Rinse or remove with a damp cloth |
| Skeyndor Power Hyaluronic Mask | 5 minutes | Rinse with water |
If your packaging confirms those directions, apply Collistar to your chosen T-zone area first. Five minutes later, apply Skeyndor to a separate area of the cheeks. After another five minutes you can rinse both off. This is an example of organising the two timings. Count each product's application time from when you put it on.
A home session step by step
- Prepare what you need. Set out the masks, a clean towel and a timer. Read both packs for the application time and removal method.
- Apply to the areas you selected. Use clean fingers or an applicator, keeping each mask within its own area. Leave the eye and lip areas clear according to the instructions.
- Time each product individually. Use two reminders or note each start time. Remove each mask when its specified time is up.
- Remove with gentle movements. Use water or the method the manufacturer specifies. At the borders, gradually lift away residue with your fingers and avoid firm rubbing.
- Finish with your usual care. Blot the face and apply your normal moisturiser if needed. Assess how each treated area feels.
What to assess afterwards
Look at the T-zone after removal and again during an ordinary part of your day. Are you happy with the level of shine, and does the skin feel comfortable? On the cheeks, notice tightness and softness. These observations help you decide which areas to treat and how often to repeat the routine.
If your skin starts burning or discomfort increases sharply during a session, rinse the product off. Use your experience of that individual product when choosing your next step. If you like the result, follow the frequency on the pack and repeat the pattern that suits you.
Frequently asked questions
Do I have to buy two masks?
Start with the concern that matters most to you. You can choose one mask and apply it to the area that needs it. Add a second product when you have identified another area you would like to treat separately.
Can a hydrating mask go on the T-zone too?
Yes, if the instructions allow it and it feels comfortable there. If the T-zone also feels tight at the moment, you may prefer a mainly hydrating session. Assess your skin before each application.
Should I wait for a clay mask to dry completely?
Follow the time and method specified for your particular product. Collistar gives a 10-minute application for the example here. Set a timer and remove it according to the directions.
Mila Serani, Skincare & Beauty Editor at Wellness Expert